While we believe that the books and resources recommended may be of value to you, keep in mind that these are suggestions only and you must do your own due diligence to determine whether the materials are appropriate and suitable for your use. PNC has no sponsorship or endorsement agreement with the authors or publishers of the materials listed.
COMMUNITY HELPERS
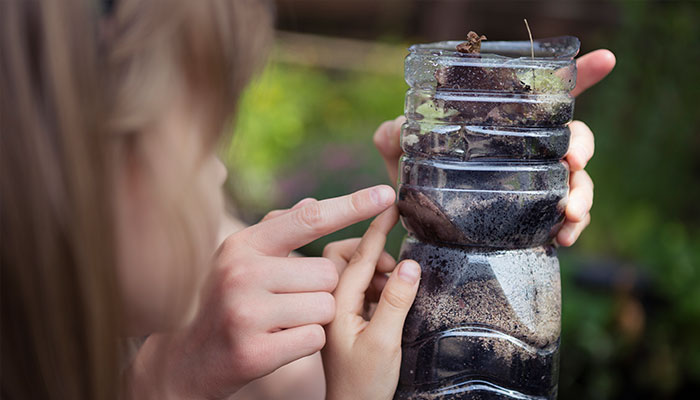
Classroom Composting
Children will learn about farmers and create a classroom composting bin using worms.

Lesson Objective
Children will explore how farmers use compost to enrich their soil by creating and maintaining a worm composting bin.
(Science) Science
What You'll Need
- Red Wiggler worms, 1-2 pounds (1 pound = approximately 1,000 worms)
- Two 12-to-14-gallon plastic opaque storage containers with tight-fitting lids
- Drill with a small drill bit
- Potting soil - 2-4 cups
- Food scraps from fruits, vegetables, grain products and coffee grounds (do not use dairy, meat, or oily items)
- Colander
- Large plastic bowl
- Plastic spray bottle filled with water
- Disposable gloves - a pair for each child and adult
- Large amount of newspaper torn into ¼” strips
- Plastic sand shovels or large plastic spoons - one for each child
- Flashlight
- Water
What To Do
Note: This lesson creates an ongoing activity. You will prepare the compost bin as one activity, care for the worms daily, and harvest the soil in about 3 months.
- Begin a conversation about farmers. Discuss where they work and what they do. Explain that you will be exploring what farmers and gardeners do to create healthy, rich soil for their plants.
- Have the students help you tear the newspaper into strips.
- Place the strips of newspaper into the large plastic bowl and cover them with water.
- Allow the newspaper strips to soak in the water for a few minutes.
- Remove the newspaper strips from the bowl and place them in the colander to drain. When done, they should be damp but not dripping with water.
- While the newspaper is draining, drill 10-12 air holes (about one-third of the way down from the top edge) all the way around the containers.
- Drill holes for drainage in the bottom of one of the bins.
- Place the bin with the holes in the bottom inside the other bin.
- Invite the children to fill the inner bin about one-third full with the wet newspaper.
- Let the children use the sand shovels to scoop the potting soil into the bin.
- For children who are comfortable, let them add the worms and food scraps. Every pound of worms will need one pound of food per week.
- Take turns gently mixing the contents. Try to make sure all the food is buried under the dirt so you will not attract fruit flies.
- Cover the whole mixture with about an inch of dry, torn newspaper.
- Use the water bottle to spray the top layer of newspaper. Moisten the paper, but do not soak it.
- The container should be kept in an environment with a temperature between 55 and 77 degrees.
- Caring for your worms, see Lesson Tips (below).
- Harvesting your composted soil: See the section below titled “Harvesting Your Composted Soil” for steps on how to harvest the soil.
Resources
Home School Resources
Home educators: use these printable lesson PDFs to teach this lesson to your home schoolers. They're available in English and Spanish.
Content Provided By
Common Core State Standards Initiative – These lessons are aligned with the Common Core State Standards ("CCSS"). The CCSS provide a consistent, clear understanding of the concepts and skills children are expected to learn and guide teachers to provide their students with opportunities to gain these important skills and foundational knowledge [1]. (External) Visit the CCSS