While we believe that the books and resources recommended may be of value to you, keep in mind that these are suggestions only and you must do your own due diligence to determine whether the materials are appropriate and suitable for your use. PNC has no sponsorship or endorsement agreement with the authors or publishers of the materials listed.
CURIOUS CRAWLERS

Ladybug Exploration
Children will explore ladybugs.

Lesson Objective
Children will explore ladybugs, including their life cycle, and make ladybug prints.
ScienceArt
What You'll Need
- Clear plastic containers with lids (punch small holes in the lids) – 2 per table (see Lesson Tips)
- Ladybugs – 3 per container (see Lesson Tips)
- Mushroom slices – 2 per container (see Lesson Tips)
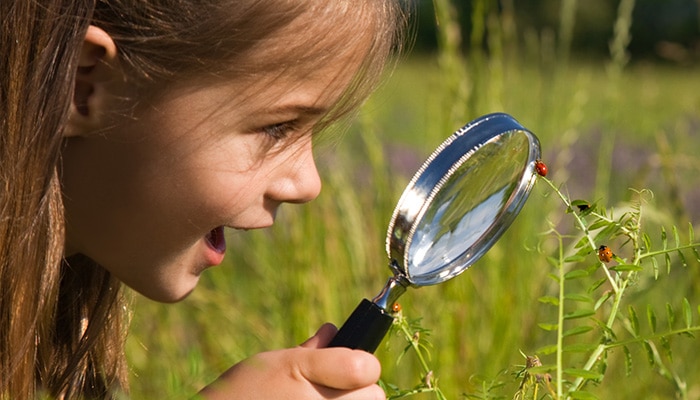
- Magnifying glasses – 1 per child
- Simple diagram of the four-stage life cycle of an insect (see Lesson Tips)
- Pictures of a variety of insects (such as a ladybug, bee, firefly, crickets, or butterflies)
- Red ink pads – 1 per 2 children
- White construction paper (9" × 12") – 1 sheet per child
- Black fine tip markers – 1 per 2 children
What To Do
Note: Prior to the start of the lesson, place the ladybugs in the containers, and punch tiny holes in the lids. Add the mushroom slices to each container to keep the ladybugs active during the exploration.
- Display the pictures of the insects.
- Discuss how the insects are similar and how they are different (see Guiding Student Inquiry).
- Distribute the magnifying glasses, and set the containers of ladybugs on the tables.
- Have the children use the magnifying glasses to examine the ladybugs.
- Ask the children to explain how they know that the ladybug is an insect (because it has three body parts, two eyes, two antennae, and six legs).
- Discuss the life cycle of a ladybug, how ladybugs are helpful, and the colors of the ladybug (see Did You Know?).
- Tell the children that they will be making prints of adult ladybugs.
- Distribute construction paper and ink pads to the children.
- Demonstrate pressing your thumb on the red ink pad and making thumbprints on the white paper. Then, show the children how to use the black marker to add dots, antennae, and six legs to each thumbprint to turn it into a ladybug.
- Lend assistance to the children as they make their thumbprints and then use the markers to turn their thumbprints into ladybugs.
Resources
Home School Resources
Home educators: use these printable lesson PDFs to teach this lesson to your home schoolers. They're available in English and Spanish.
Content Provided By
Common Core State Standards Initiative – These lessons are aligned with the Common Core State Standards ("CCSS"). The CCSS provide a consistent, clear understanding of the concepts and skills children are expected to learn and guide teachers to provide their students with opportunities to gain these important skills and foundational knowledge [1]. Visit the CCSS


