While we believe that the books and resources recommended may be of value to you, keep in mind that these are suggestions only and you must do your own due diligence to determine whether the materials are appropriate and suitable for your use. PNC has no sponsorship or endorsement agreement with the authors or publishers of the materials listed.
RECYCLING

From Trash to Treasure
Children will make sculptures from recycled boxes.

Lesson Objective
Children will explore upcycling by using recycled materials to create sculptures.
Art
What You'll Need
- Untitled, John Chamberlain – two views from the Cleveland Museum of Art website
- Containers for paint
- Tempera paint, various colors
- Brushes – 1 per child
- Newspaper (to cover tables)
- Utility scissors or knife (teacher use only)
- Used cardboard boxes – 1 small box per child
What To Do
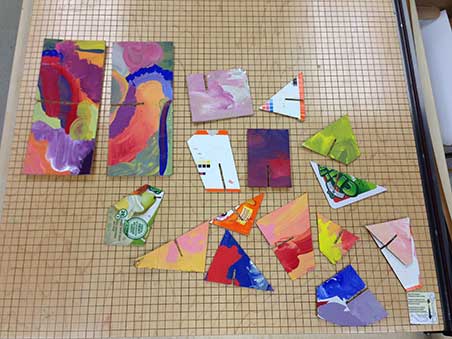
Note: Prior to the start of the lesson, cut the cardboard boxes into 6"× 12" pieces for the base of the sculpture – 2 per child; and 4 or 5 irregularly-shaped smaller pieces of cardboard per child. Keep one box intact for the lesson. Cover the tables with newspaper.
- Show children an empty cardboard box. Explain that no one needs it anymore. Ask the children what they could do with it (throw it away, recycle it, store things in it, upcycle it into art, etc.).
- Explain to the children that we are going to upcycle a box by decorating pieces of it and turning it into something beautiful.
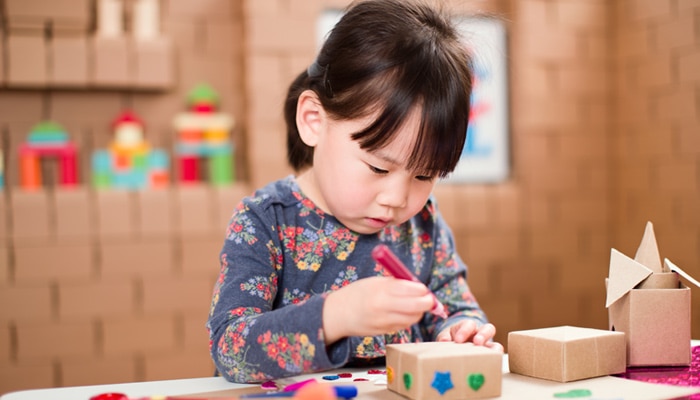
- Starting with the 6"× 12" pieces, have the children paint all cardboard shapes.
- Once the paint is dry, cut a slit into one side of each shape. Cut the slits on the 6"× 12" base pieces halfway down the center of the longest side.

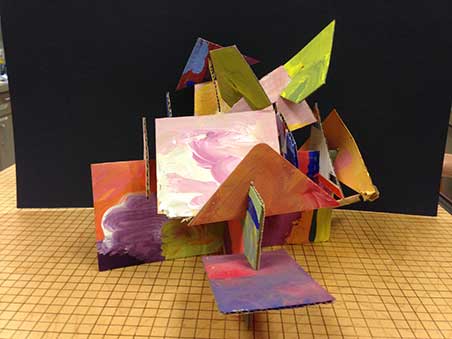
5. Show one view of John Chamberlain’s sculpture. Point out that even though the picture is flat, the artwork is not. Show the other view. Have the children spot differences between the two views. How can they both be of the same work? (They are taken from different sides. Because the artwork isn’t flat, it is a sculpture.)
6. Demonstrate how to use the painted shapes to make a sculpture by interlocking the base pieces to form an X. Allow the class to direct the placement of the smaller pieces on the base; emphasize directional words—such as beside, above, below, to the left, to the right—as you place each piece.

7. Distribute the painted pieces to the children, and let them make their own sculptures. Pieces can be endlessly rearranged.

Resources
Home School Resources
Home educators: use these printable lesson PDFs to teach this lesson to your home schoolers. They're available in English and Spanish.
Content Provided By
Common Core State Standards Initiative – These lessons are aligned with the Common Core State Standards ("CCSS"). The CCSS provide a consistent, clear understanding of the concepts and skills children are expected to learn and guide teachers to provide their students with opportunities to gain these important skills and foundational knowledge [1]. Visit the CCSS


