While we believe that the books and resources recommended may be of value to you, keep in mind that these are suggestions only and you must do your own due diligence to determine whether the materials are appropriate and suitable for your use. PNC has no sponsorship or endorsement agreement with the authors or publishers of the materials listed.
SPRING

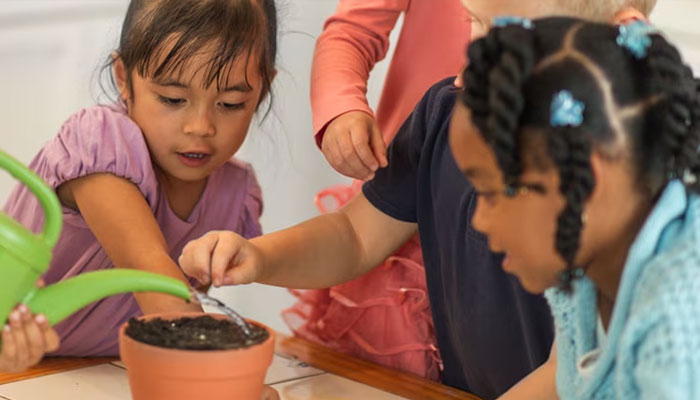
Planting Seeds
Children will learn about the life cycle of a seed.
Lesson Objective
The children will learn how to plant a seed, observe
the seed life cycle, and discover the growth of their plants over time.
Science
What You'll Need
- 8 oz. clear cups – 1 per child
- Sunny window
- Spray bottles of water
- Craft sticks with each child’s name
- Chart paper and marker
- Potting soil – enough to fill cups ½ full
- 2 seeds per child (e.g., sunflower seeds, pumpkin seeds, lima beans, kidney beans)
What To Do
Note: Planting seeds and tracking their growth will take several weeks. It is helpful to use a push pin to poke a few holes in the bottom of the cups for drainage prior to filling them with soil; consider placing the cups on a plastic plate to eliminate damage from water drainage. It’s always a good idea to plant a few extra seeds in the event some don’t germinate.
- Activate background knowledge to find out what children know about seeds.
- Give each child 2 seeds.
- Ask children to describe what we might need to plant a seed. Explain what a seed needs to grow (see Did You Know?).
- Give each child a cup filled ½ full of potting soil.
- Demonstrate poking 2 holes in the soil with your finger, one against each side of the cup, about an inch deep; have the children do the same.
- Help the children drop the seeds in the holes and cover them up with soil, then have them place their craft stick in their cup.
- Demonstrate how to spray the soil with water from the spray bottle so the seed is wet but not soaking in a puddle of water. Have the children take turns spraying their cups and ask them why this is important.
- Ask where would be a good place in the room to place the seeds they have planted and help the children put their cups in a sunny window.
- Have children take turns spraying their seeds with water daily. Check the seeds daily and chart their growth.
Resources
Home School Resources
Home educators: use these printable lesson PDFs to teach this lesson to your home schoolers. They're available in English and Spanish.
Content Provided By
Common Core State Standards Initiative – These lessons are aligned with the Common Core State Standards ("CCSS"). The CCSS provide a consistent, clear understanding of the concepts and skills children are expected to learn and guide teachers to provide their students with opportunities to gain these important skills and foundational knowledge [1]. Visit the CCSS