


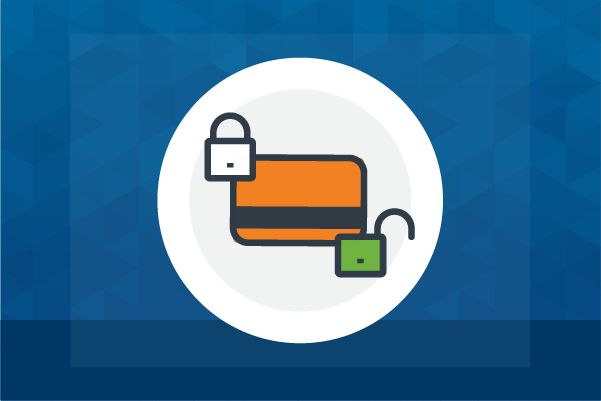
PNC Easy Lock is not a replacement for reporting your credit card lost or stolen. If you believe your credit card has been lost or stolen, please contact PNC immediately at 1- 888-PNC-BANK and continue to monitor your account activity for unauthorized transactions.
Online Banking
Resource Center
Convenient access to your online banking features, with a new modern look.


Online Banking
Resource Center
Convenient access to your online banking features, with a new modern look.
What You Need to Know
We are enhancing your Online Banking experience.
When you sign on to the new Online Banking (OLB) for the first time, you will see that your tools and features are organized in a new and convenient way.
Digital Banking Tutorials
These step-by-step, self-guided walkthroughs give you a preview on how to perform common tasks on your computer through the enhanced Online Banking experience.
If you have small business accounts, view our business digital banking tutorials.
PNC Wealth Management or PNC Private Bank customers, view our investments digital banking tutorials.
Same Great Features
It’s a new look & experience, with continued access to the tools and features you need to bank when you want, where you want.
General Online Banking FAQs
General Questions & How To Complete Certain Transactions
in the New Online Banking
Specialized FAQs
How to Complete Small Business, PNC Wealth Management, and PNC Private Bank Tasks in the New Online Banking
Small Business FAQs
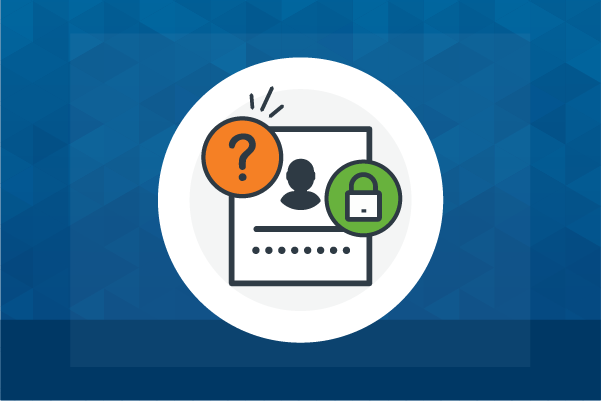
(Alert) Difficulties with delegates logging in to your updated Online Banking experience? Follow these steps to learn more